

IV- Flight UI
What if we loaded a rocket already prepared to discuss the flight interface? We’ll delve into rocket construction in another tutorial 😉 One click on the LaunchPad, and you’ll be able to select the KerbalX. Another click on the green button to move it to the launchpad! Let’s dive into a new interface 😉 Let’s see the elements available to us:
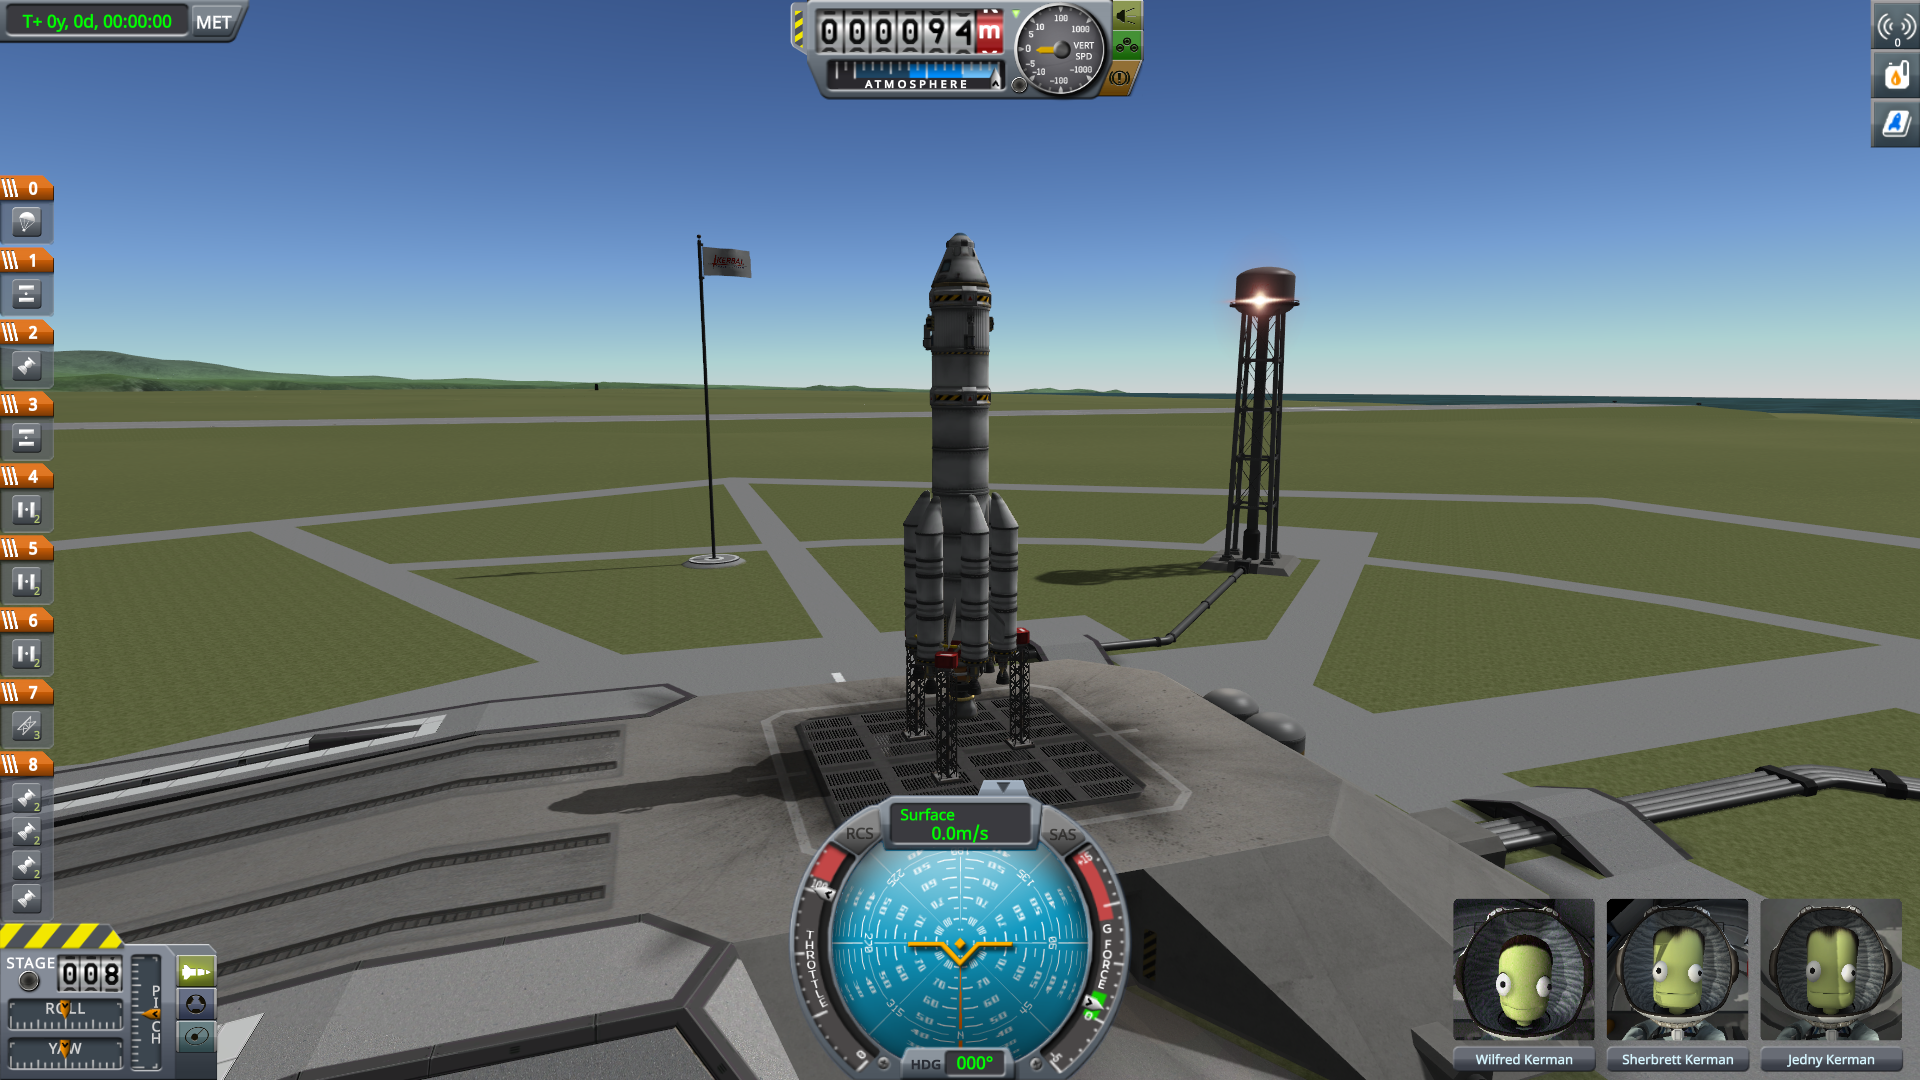
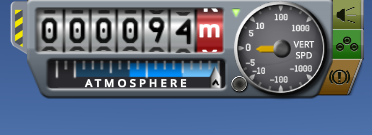
At the very top, we have the Altimeter that measures altitude (yes, indeed) from sea level, not taking terrain into account. Pay close attention to this detail to avoid unpleasant surprises! Next to it is an “Abort” button that allows for an emergency mission termination. We’ll discuss this in another tutorial, but actions can be associated with this button, for example, triggering the rocket’s rescue tower during a failed launch to save our precious Kerbonauts.
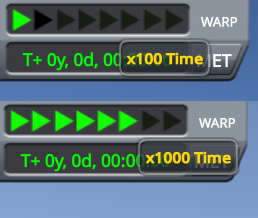
Immediately to the left, still at the top, there’s a row of arrows that allow you to accelerate time. You’ll use this often to avoid spending three years in front of your screen to reach another planet in real-time! This is called Warp, a term you’ll encounter frequently. There are two types: Physical Warp and… the other one we’ll simply call “Warp” by omission. The latter is the primary one and is only available outside of any atmosphere; it “freezes” your spacecraft during time acceleration, and physics only resumes when you exit Warp and return to normal speed. You can try it out on a module in orbit 😉 Physical Warp is quite unique and is mainly used in atmospheres; it retains the spacecraft’s physics but in a rather peculiar way and cannot exceed a x4 factor. You can experiment with it at your own risk another time…
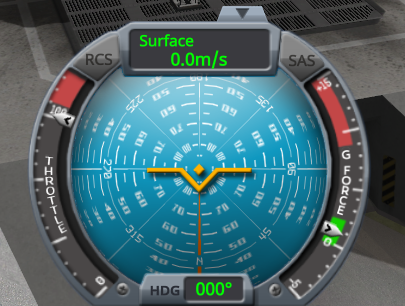
At the bottom, your primary tool: the NavBall! It helps you orient yourself in space, know which direction you’re pointing, identify the main axes, and use pre-orientations with the shortcuts on the left panel. All of this will be explained in a dedicated tutorial. For now, just know that blue represents the sky, and brown represents the ground. So, for a launch, it’s better to point towards the blue and gradually tilt your rocket towards the horizon, which is the boundary between the sky and the ground!
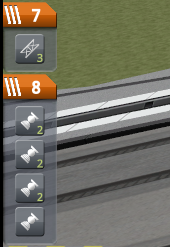
On the left, the Staging tree represents the sequence of upcoming actions. For example, here you can see the ignition of all the boosters, six on the sides and one in the center, followed by the detachment of the holding arms, and so on. This order can be changed by dragging a block at any point during the flight if you notice something is not appropriate. Each action is triggered using the Spacebar. Note that during ignition, you’ll see the fuel gauges deplete for each stage, which is handy for anticipating a separation!
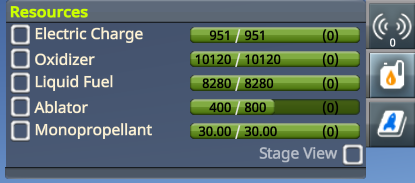
In the top right corner, you have several handy information shortcuts, including the first one summarizing your vehicle’s Resources: various fuels/oxidizers, electricity, RCS… The last one below is KSPedia, a sort of in-game Wikipedia containing a wealth of more or less useful information, somewhat organized.