

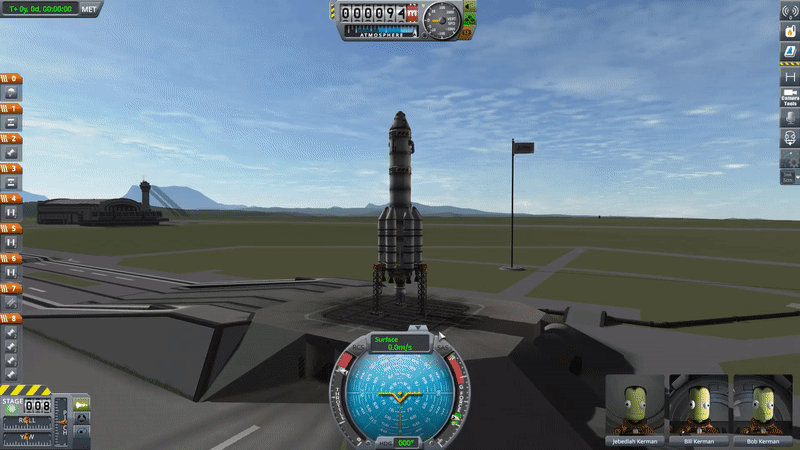
V- First Flight!
How about launching that famous KerbalX to experience the unique sensations of KSP? It’s not too complicated; you’ll see!
- Engage the SAS to maintain course (default key [T]),
- Throttle up to full power (default key [Shift]),
- Press the Spacebar to ignite!,
Just sit back and observe what happens:

Do you see on the left side the small green bars depleting? As we mentioned earlier, this represents the amount of remaining fuel in the current stage: when the bar is empty, the engine shuts down. It’s time to decouple the empty stage by pressing the [Space] bar, gently, as there’s no rush^^ Here, the first detached boosters are on the sides, two by two. Sometimes, during ‘vertical’ assemblies, you may need to press twice, the first time to detach the stage, and the second time to ignite the next booster 🙂
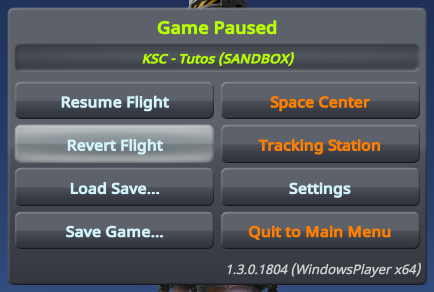
At any time if you encounter a problem, you can return to the launchpad by pressing [ESC], then Revert Flight‘ and then Revert to Launch to make a fresh attempt. If nothing is hindering your ascent, take the time to watch your rocket climb and stage when they are empty. Of course, by going straight up like this, you won’t achieve orbit, but let’s save that for later.
However, this flight provides us with an opportunity to explore another interface! KSP indeed offers an alternative way to control your flight: the map view or orbital view, accessible with the [M] key. While the interface is somewhat similar, this view provides different visual information:
For those who don’t want to launch the rocket right now or are experiencing difficulties despite our advice, you can exit the rocket and select a module from our saved game, which we’ve previously placed in orbit to align with the rest of the document. To do this, press [ESC] and select Revert to Space Center. Now, you can click on the Tracking Station building and choose the module named In Orbit from the list. Remember, you’ll only have access to this module if you use the save game we provide!
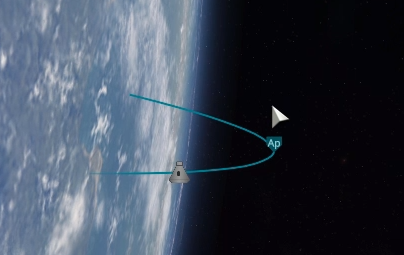
The blue curve represents your real-time trajectory: in the illustration, the module is in a stable orbit around Kerbin, forming a circle. This orbit is characterized by two primary parameters that you can hover over with your mouse: the apoapsis and the periapsis, which respectively refer to the highest point and the lowest point of your trajectory. In the case of the previous launch, during a simple vertical ascent, you will only see the apoapsis at the peak of your parabola; the periapsis only appears on the opposite side once it emerges from the ground.

The other white curves represent different modules that are also in flight, but you are not piloting them; they are on ‘rails,’ and their physics are not being calculated. However, you can easily take active control of each of them by right-clicking and selecting ‘Switch to this vessel’! This right-click also allows you to set a module or celestial body as a target, which will be useful when trying to rendezvous with them. These are more advanced concepts that will be explained in detail in the upcoming tutorials.
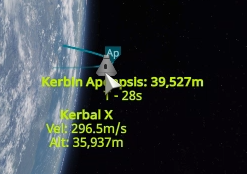
Your module has its own characteristics, also available when hovering the mouse over it: speed, mass, altitude… We often overlook these details 🙂
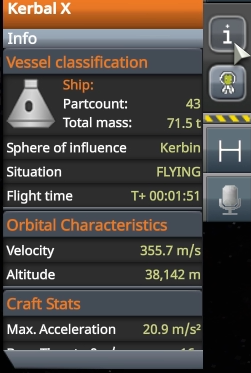
The shortcuts on the right have been expanded to include two small blocks of information, one about the celestial body you are orbiting and the other about your craft. Similarly, several important pieces of information can be found there; take a look before cluttering your interface with mods 😛
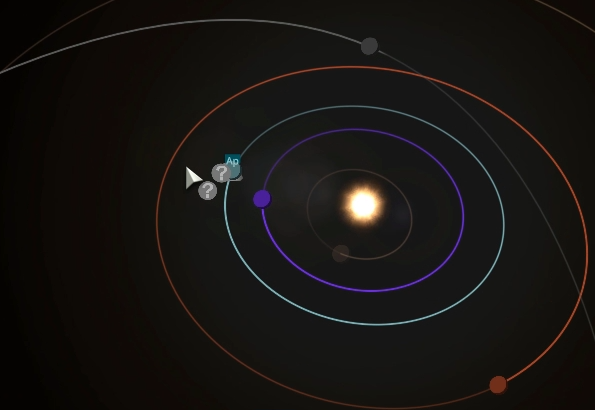
As you zoom out, you’ll be able to appreciate the broader context around you: Kerbin, its moons, and then the Kerbol star system with its many planets and natural satellites. Are you starting to grasp the scale of the game that awaits you? ^^ The possibilities that lie ahead? A station around the sun, a base on the neighboring planet’s surface, rovers exploring the rugged terrain of a natural satellite…?
It’s thanks to this Map View that you’ll be able to navigate in space, plan your maneuvers, reach a celestial body, set up a communication network, and more.
That concludes the main interfaces you’ll encounter as players. The various other screens primarily rely on the specifics of each building, which don’t require much explanation outside of the rocket and aircraft construction facilities, each of which will be the subject of a dedicated tutorial, of course!”